Are you ready to set up all your social media accounts? This social media checklist will give you a step-by-step series of tasks to do, with instructions on how to do each step. Set aside a couple of hours, and when you are done, you will have completely new social media accounts for your brand on all the major platforms.
Social Media Checklist Table of Contents
- Decide on your username and password.
- Write your Bio
- Collect your branding assets.
- Create Your Social Media Accounts
- Upload your Logo and Cover Photos
- Fill out your Bio or Description
- Link to all of your social media accounts
Step 1: Decide on your username and password.
For best results, a universal handle is easiest. When you set up Twitter, you will need to have your handle limited to 15 characters or less. Try and use the same handle for all your accounts. When you set up Twitter, if @yourhandle isn’t available, keep trying until you find a handle that you like, one that you could use anywhere and everywhere.
When I set up social media accounts for Wellness Website Design, the full name of the brand was too long for a Twitter handle. I went with @wellness_web, but on other platforms that allow for longer handles, I selected @wellnesswebsitedesign. This caused some friction later on, and when I have to enter all the social media profiles for this brand, I have to manually look up the link, like some sort of savage.
If there were one universal handle, like @wellwebd, then anytime there was a form to be filled out, or a profile to be completed, filling in the social media account links would be easy and fluid, because they would all end with the exact same handle.
Decide on one secure password in advance, different from all your other passwords, and use that same password for all of your social media accounts. This makes it easy to sign in to any platform; you don’t have to hunt down for the right password, because there is only one password. It also makes going through this social media checklist super easy.
Now, set up a new gmail account with this username and password.You can use a different unified email login for all your accounts (like [email protected]), but you will need this gmail account later for Youtube and Google Plus.
Step 2: Write your Bio
You can write your bio once, and copy and paste it into all of the other profiles. A short, concise paragraph describing who you serve, and what you do, is all you need.
“I help [these people] who [face this problem] by [your awesome solution].”
It can be tempting to skip this step, and write whatever comes to mind, but trust me: don’t.
As Evan LePage says on the HootSuite blog, “Why is your bio so important? In addition to sharing basic information about yourself, adding your website and email address turns any social network bio into a potential source of referral traffic. Especially on company pages, the opportunity to describe your products and link out to an external website makes bios a powerful marketing and sales tool.”
Step 3: Collect your branding assets.
Create a folder on your desktop, and call it ‘Branding Assets.’ This is where you’re going to collect the image files you will need for the rest of this process.
Open up a folder on your computer that has your logo files. If you have a square logo image file that is at least 300px wide, make a copy of it and put it in your Branding Assets folder. If you don’t have a 300px wide version of your logo, make one.
How to Make a Square Image Of Your Logo In 5 Easy Steps
- Go to Canva. This is the easiest, most intuitive graphic design tool on the internet. You don’t need to be a graphic designer to use it, and it makes it really easy to make everything look good.
- You will need a square version of your logo for most social media profile pictures, and a 300px wide version will work for all of them. Make one by signing into Canva, clicking ‘Use Custom Dimensions’ in the upper right, and put in 300 width x 300 height.
- Upload your logo.
- Drop it on the square canvas.
- Click ‘Download,’ and you’ve got a universal social media profile picture.
Put this 300px wide image of your logo (either .jpg or .png is fine) into your computer’s folder, along with any other visual assets you have that you would like to use.
Pro tip: make sure your logo works with a circle around it. If you have important colors or shapes in the corners, they may get cut off in some platform’s profile pictures.
What is a cover photo?
A cover photo is the second photo you will need for your social media profile. Many profiles allow you to upload a profile photo and a cover photo. The cover photo is the big background, and the profile photo is the smaller one.
To keep you on your toes, every cover photo size is different for every social media platform. Thankfully, Canva makes this easy; with a free account, you can use all their pre-sized templates, and export all the photos you need, at the perfect size.
Do I have to make different cover photos for every platform?
You don’t need to – you could use one high-resolution background photo that you like, and upload it as the cover photo on every platform, as you edit your profile there. But your photo may be cropped at an inconvenient place, and it may be pixellated, because it has to be resized, so it will look fuzzy.
You can select one high-quality stock photo that expresses the visual feeling of your brand, upload it to Canva, and then create cover photos for all your platforms at once. Then, you can export all these photos into your Branding Assets folder on your desktop, along with your 300px wide logo, and you’ll be all ready to get started.
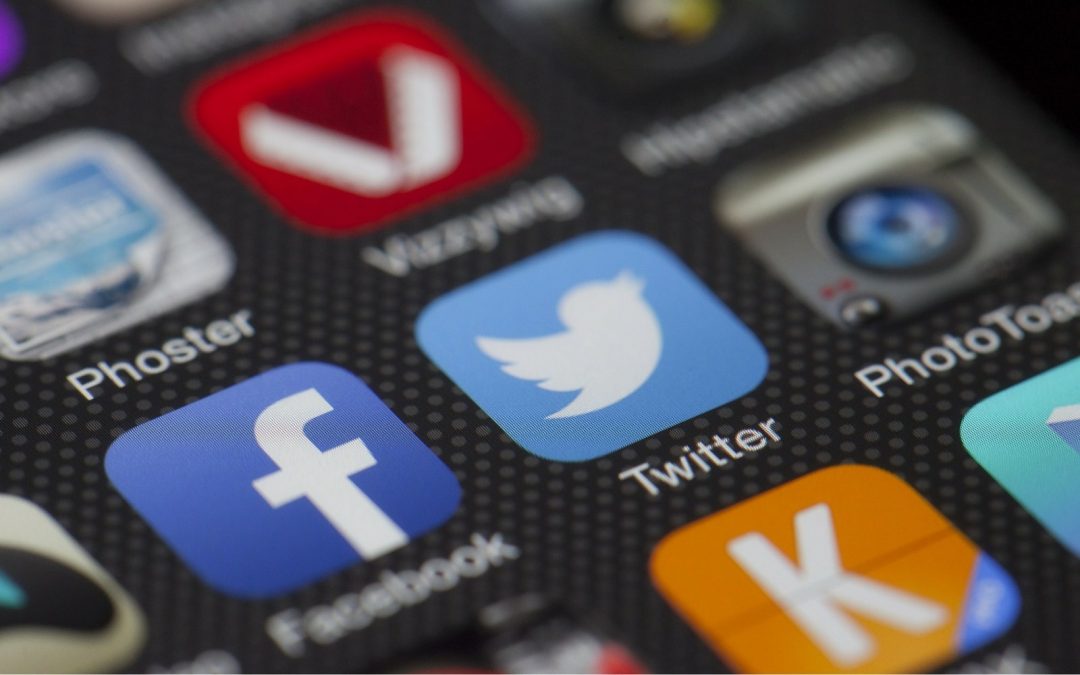
Step 4: Create Your Social Media Accounts
Open this post in an incognito browser, so you can keep your social media checklist handy, and then Ctrl + Click on all these links to open them in new tabs:
Next, one at a time, sign up for accounts. If you are using a new email address, you can have that inbox open for review, or (even better) set that email address to automatically forward to your main email address.
You will need to confirm your accounts with this email address, for every new account you open.
**please note – the exception to this setup is Facebook. (As usual.)
Facebook often has its own rules and requirements, and as the most dominant social media network on the planet, it has earned that right.
For Facebook, you will need a personal account, which will be an admin of your brand’s Facebook Page. So you can sign in to your personal account, and create a Facebook Page with your brand assets. You won’t be able to customize the slug (the part of the URL after facebook.com/ that is) until after your page has 25 likes.
Social Media Setup Pro Tips:
- Use the same handle, login email, and password for all accounts
- Use Gmail for this email address, and it will set up your Google and YouTube accounts for you
- Have the Branding Assets folder open on your desktop while you work
- Click on all email address confirmations in one sitting
Step 5: Upload your Logo and Cover Photos
This is self-explanatory, but time consuming. You may run into difficulties. One of the platforms may have changed their sizing requirements, or need their file in a different format, or frustrate you for some other reason.
Stay calm. Take deep breaths. Persevere.
When you are done with the social media setup process, you will have branded visual assets on every social profile. It’s worth the challenge here; stick with it.
Pro tip: Canva gives you pre-sized templates for most cover photos.
Step 6: Fill out your Bio or Description
Be sure and include a link to your website on every profile. This is the true SEO benefit of this work; you will receive backlinks from high Page-Rank sites, which legitimizes your website in the eyes of search engines, so don’t skip this step.
Step 7: Link to all of your new accounts
There’s an easy way to do this: set up your personal page on about.me.
When you set up this personal profile page, you can copy and paste the links to all of your profiles here.
Now, whenever you need to access your profile links, just go to your about.me page, control+click on each icon, and you can copy and paste the links.
Other places you can put links to all of your profiles:
- Your website footer
- Your website sidebar
- Your YouTube channel
- Your personal Facebook profile page
 I am an American expat living in New Zealand, and I have spent ten years running an online business while traveling the world with my young family. I'm a website designer, copywriter, and sales strategist who specializes in creating online courses and sales funnels for bestselling authors, business coaches, and professional public speakers.